Published
- 5 min read
CPE241 Week 6
Basic of IOT Networking #2
To control an ESP8266 using a web server, you typically set up the ESP8266 to serve a webpage that allows you to interact with its GPIO pins, such as turning an LED on and off. Below is a complete example demonstrating how to create a simple web server on the ESP8266 that controls an LED.
NO Access Point
To modify your ESP8266 code to retrieve the IP address of the access point (AP) it creates, you can set it up as an AP and then display its IP address.
       #include <ESP8266WiFi.h>
#include <ESP8266WebServer.h>

const char* ssid = "Your_SSID"; // Replace with your SSID
const char* password = "Your_Password"; // Replace with your password

ESP8266WebServer server(80);
#define LEDPIN D4

String getHtmlPage() {
    String strHtml = "<html><head>";
    strHtml += "<title>Controller</title>";
    strHtml += "<style>";
    strHtml += "body { font-family: Arial, sans-serif; text-align: center; }";
    strHtml += ".button { padding: 10px 20px; font-size: 16px; border: none; border-radius: 5px; cursor: pointer; text-decoration:none;}";
    strHtml += ".on { background-color: green; color: white; }";
    strHtml += ".off { background-color: red; color: white; }";
    strHtml += "</style>";
    strHtml += "</head>";
    strHtml += "<body><h1>Controller</h1>";
    strHtml += "<h3>LED/Switch</h3>";
    strHtml += "<a href='/on' class='button on'>ON</a><br><br><br>";
    strHtml += "<a href='/off' class='button off'>OFF</a>";
    strHtml += "</body></html>";
    return strHtml;
}

void handleRoot() {
    server.send(200, "text/html", getHtmlPage());
}

void turnOn() {
    digitalWrite(LEDPIN, HIGH);
    Serial.println("LED On now");
    server.send(200, "text/html", getHtmlPage());
}

void turnOff() {
    digitalWrite(LEDPIN, LOW);
    Serial.println("LED Off now");
    server.send(200, "text/html", getHtmlPage());
}

void setup() {
    Serial.begin(115200);
    delay(1000);
    Serial.println();
    Serial.print("Configuring access point...");
    WiFi.softAP(ssid, password);
    IPAddress myIP = WiFi.softAPIP();
    Serial.print("AP IP address: ");
    Serial.println(myIP);
    pinMode(LEDPIN, OUTPUT);
    digitalWrite(LEDPIN, LOW);

    server.on("/", handleRoot);
    server.on("/on", turnOn);
    server.on("/off", turnOff);

    server.begin();
    Serial.println("HTTP server started");
}

void loop() {
    server.handleClient();
}
Access Point
To connect your ESP8266 to a specific Wi-Fi access point, you simply need to replace the placeholders Your_SSID and Your_Password in the code with the actual SSID (network name) and password of your Wi-Fi network.
       #include <ESP8266WiFi.h>
#include <ESP8266WebServer.h>

const char* ssid = "Your_SSID"; // Replace with your SSID
const char* password = "Your_Password"; // Replace with your password

ESP8266WebServer server(80);
#define LEDPIN D4

String getHtmlPage() {
    String strHtml = "<html><head>";
    strHtml += "<title>Controller</title>";
    strHtml += "<style>";
    strHtml += "body { font-family: Arial, sans-serif; text-align: center; }";
    strHtml += ".button { padding: 10px 20px; font-size: 16px; border: none; border-radius: 5px; cursor: pointer; text-decoration:none;}";
    strHtml += ".on { background-color: green; color: white; }";
    strHtml += ".off { background-color: red; color: white; }";
    strHtml += "</style>";
    strHtml += "</head>";
    strHtml += "<body><h1>Controller</h1>";
    strHtml += "<h3>LED/Switch</h3>";
    strHtml += "<a href='/on' class='button on'>ON</a><br><br><br>";
    strHtml += "<a href='/off' class='button off'>OFF</a>";
    strHtml += "</body></html>";
    return strHtml;
}

void handleRoot() {
    server.send(200, "text/html", getHtmlPage());
}

void turnOn() {
    digitalWrite(LEDPIN, HIGH); // Turn the LED on
    Serial.println("LED On now");
    server.send(200, "text/html", getHtmlPage());
}

void turnOff() {
    digitalWrite(LEDPIN, LOW); // Turn the LED off
    Serial.println("LED Off now");
    server.send(200, "text/html", getHtmlPage());
}

void setup() {
    Serial.begin(115200);
    WiFi.mode(WIFI_STA); // Set the Wi-Fi mode to Station
    WiFi.begin(ssid, password); // Connect to the specified SSID

    Serial.println("");
    // Wait for connection
    while (WiFi.status() != WL_CONNECTED) {
        delay(500);
        Serial.print(".");
    }
    Serial.println("");
    Serial.print("Connected to ");
    Serial.println(ssid);
    Serial.print("IP address: ");
    Serial.println(WiFi.localIP()); // Display the IP address

    pinMode(LEDPIN, OUTPUT);
    digitalWrite(LEDPIN, LOW); // Ensure the LED is off initially

    // Define server routes
    server.on("/", handleRoot);
    server.on("/on", turnOn);
    server.on("/off", turnOff);

    server.begin(); // Start the server
    Serial.println("HTTP server started");
}
void loop() {
    server.handleClient(); // Handle incoming client requests
}
DHT22 + LED
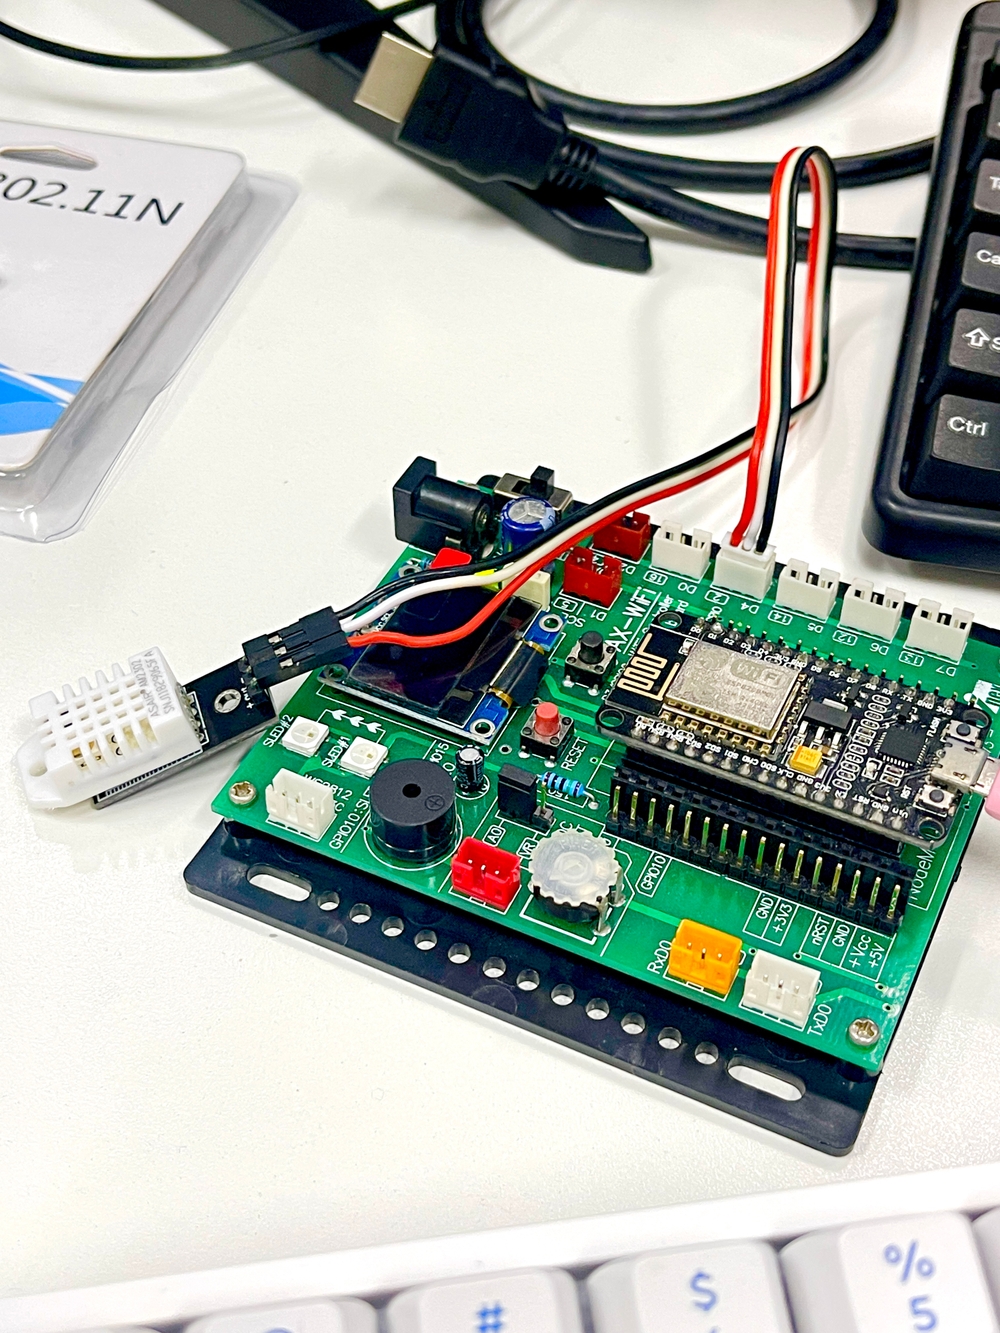
NodeMCU that functions as a web server to control an LED and read temperature and humidity from a DHT22 sensor
       #include <ESP8266WiFi.h>
#include <ESP8266WebServer.h>
#include <DHT.h>

const char* ssid = "Your_SSID"; // Replace with your SSID
const char* password = "Your_Password"; // Replace with your password

ESP8266WebServer server(80);
#define LEDPIN D4
#define DHTPIN D5 // Change if necessary
#define DHTTYPE DHT22

DHT dht(DHTPIN, DHTTYPE);
float humid;
float temp;

void readTempHumid() {
    humid = dht.readHumidity();
    temp = dht.readTemperature();

    if (isnan(humid) || isnan(temp)) {
        Serial.println("Failed to read from DHT sensor!");
        humid = 0;
        temp = 0;
    }

    Serial.print("Temp: ");
    Serial.print(temp);
    Serial.print(" , Humid: ");
    Serial.println(humid);
}

String getHtmlPage() {
    readTempHumid(); // Read temperature and humidity

    String strHtml = "<!DOCTYPE html><html>";
    strHtml += "<head><meta http-equiv='refresh' content='3'/>";
    strHtml += "<title>Web Server</title>";
    strHtml += "<style>";
    strHtml += "body { font-family: Arial, sans-serif;}";
    strHtml += ".button { padding: 10px 20px; font-size: 16px; border: none; border-radius: 5px; cursor: pointer; text-decoration: none; }";
    strHtml += ".on { background-color: green; color: white; }";
    strHtml += ".off { background-color: red; color: white; }";
    strHtml += "</style>";
    strHtml += "</head><body>";
    strHtml += "<h1>Controller</h1>";
    strHtml += "<h3>LED/Switch</h3>";
    strHtml += "<a href='/on' class='button on'>ON</a><br><br>";
    strHtml += "<a href='/off' class='button off'>OFF</a><br><br>";
    strHtml += "<h3>Sensors</h3>";
    strHtml += "<ul>";
    strHtml += "<li>Temperature (C): " + String(temp) + "</li>";
    strHtml += "<li>Humidity (%): " + String(humid) + "</li>";
    strHtml += "</ul></body></html>";
    return strHtml;
}

void handleRoot() {
    server.send(200, "text/html", getHtmlPage());
}

void turnOn() {
    digitalWrite(LEDPIN, HIGH); // Turn the LED on
    Serial.println("LED On now");
    server.send(200, "text/html", getHtmlPage());
}

void turnOff() {
    digitalWrite(LEDPIN, LOW); // Turn the LED off
    Serial.println("LED Off now");
    server.send(200, "text/html", getHtmlPage());
}

void setup() {
    Serial.begin(115200);
    dht.begin();

    WiFi.begin(ssid, password);
    Serial.print("Connecting to WiFi...");
    while (WiFi.status() != WL_CONNECTED) {
        delay(500);
        Serial.print(".");
    }
    Serial.println("");
    Serial.print("Connected to WiFi. IP address: ");
    Serial.println(WiFi.localIP());

    pinMode(LEDPIN, OUTPUT);
    digitalWrite(LEDPIN, LOW); // Ensure the LED is off initially

    // Define server routes
    server.on("/", handleRoot);
    server.on("/on", turnOn);
    server.on("/off", turnOff);

    server.begin(); // Start the server
    Serial.println("HTTP server started");
}

void loop() {
    server.handleClient(); // Handle incoming client requests
}